
I wanted to have wings for my dolls for quite some time now.
But it was impossible to find them in the right size. And that is when I decided I could have ago and make them myself.
It actually was easier that I tought it would be.
And I though I would photograph my proces so that I could make a step by step tutorial.
So here is how to make angel wings for SD. (when you want to make wings for smaller or lager dolls or make the wings larger or smaller, you'll have to adjust the sizes to you own will)
Step one:
The things you need.
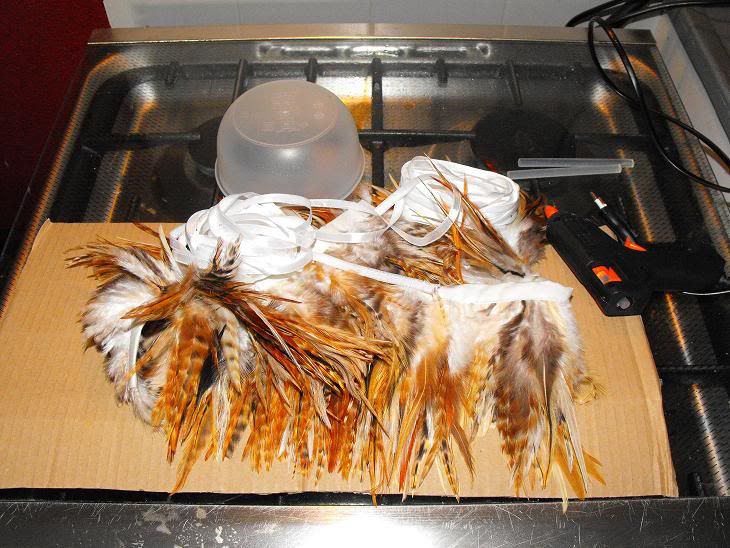
1: Cartboard piece
2: Glue gun with lot's or glue patern
3: Feathers
4: Tape measure
5: A round sized object.
6: A piece of ribbon
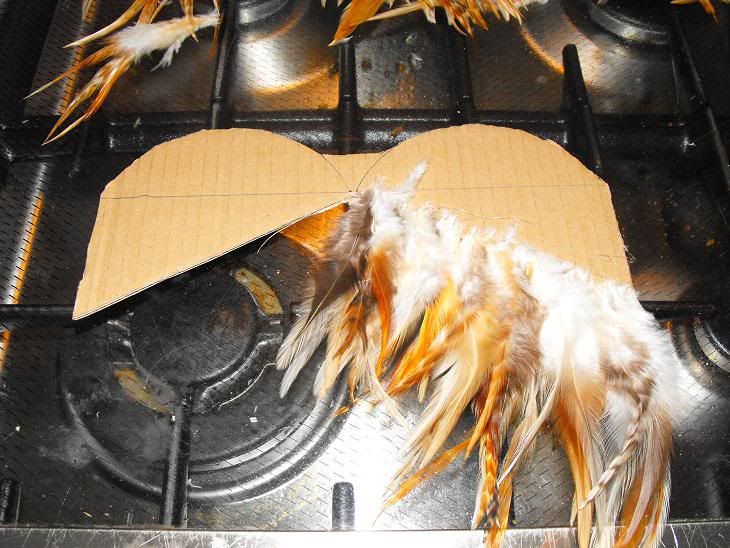
Step two
Drawing the countour of the wings on carboard
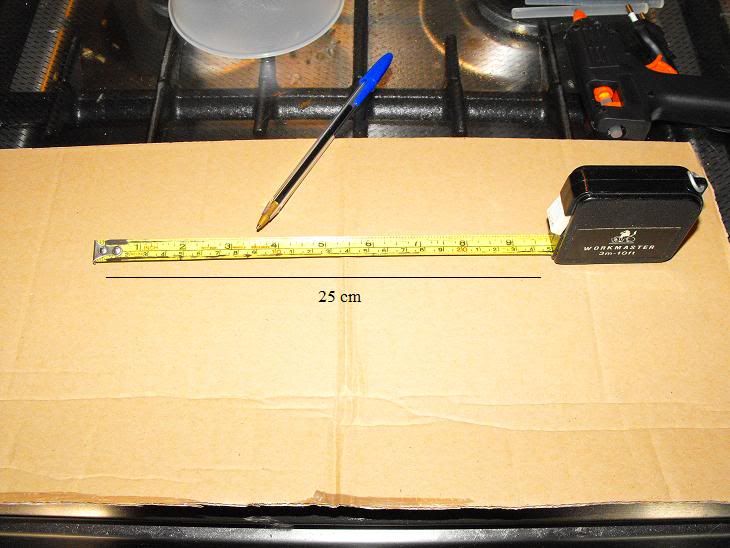
Use you tape measure to make a straigh line onto you cardboard of 25 cm long.
And make a little mark in the precise middle of the line.
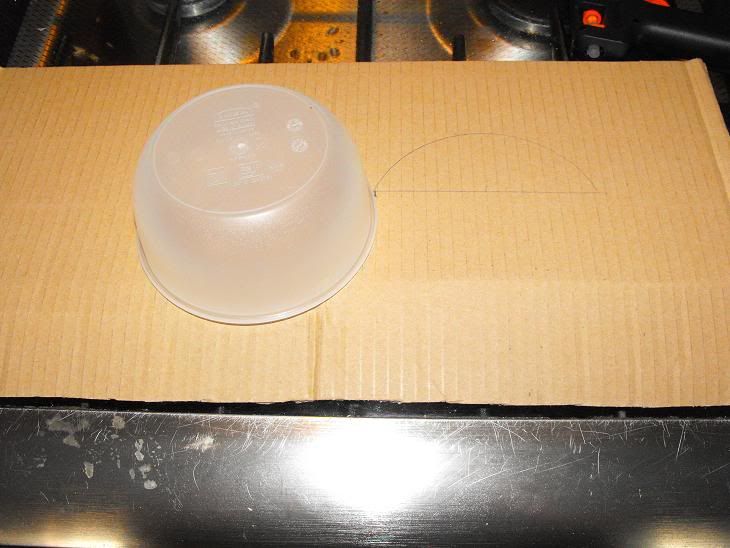
Use the round object to make two even half circles on top of the straight line. You can uyse the mark you made on the half of the straight line to make sure your half circles are even.

Draw a straigt line of 7 cm down from each end of the horizontal line.
Attach the two ends ofthe downward line with the middel of the horizontal line so you get two triangels.
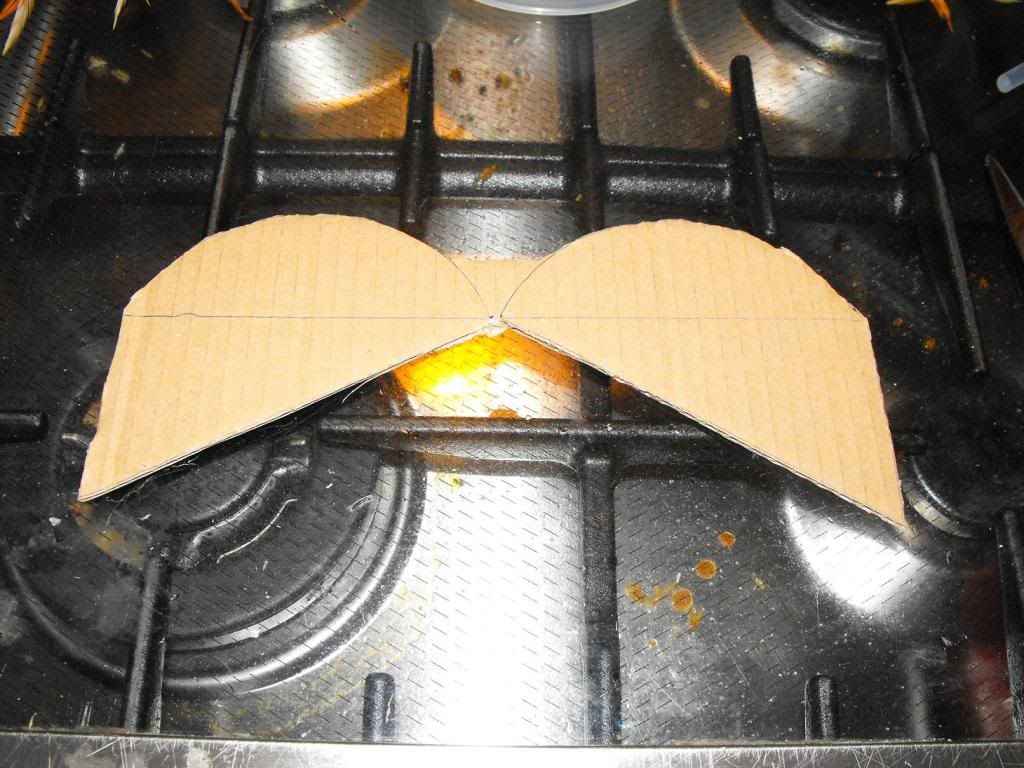
Cut out your wings.
Make sure to make a little bridge between the two half circles for extra stability of your wings.
Step two
Glueing on the feathers

I bought a string of feathers that were sewn together onto a piece of cotton ribbon at the local fabric store. These are real feathers and I found these strings were the chapest way to get my hands on real feathers. You only need about a meter to decorate your wings perfectly. But before I could start glueing I needed to free the feathers from the cotton.
Now you can start glueing.
Start at the very bottom of the wing with a single row of feathers.
Make sure you glue the feathers on as close together as possible for a full effect.
Aftery you gleud on the first row start a new row about a centimeter above the first one and make sure you stay paralel to the first row when you glue on the next line.

Continue glueing on rows until you reach the top.
You can hide the roots of the feathers at the top by glueing on a few feather around the top of the half circle.
Step three
The ribbons
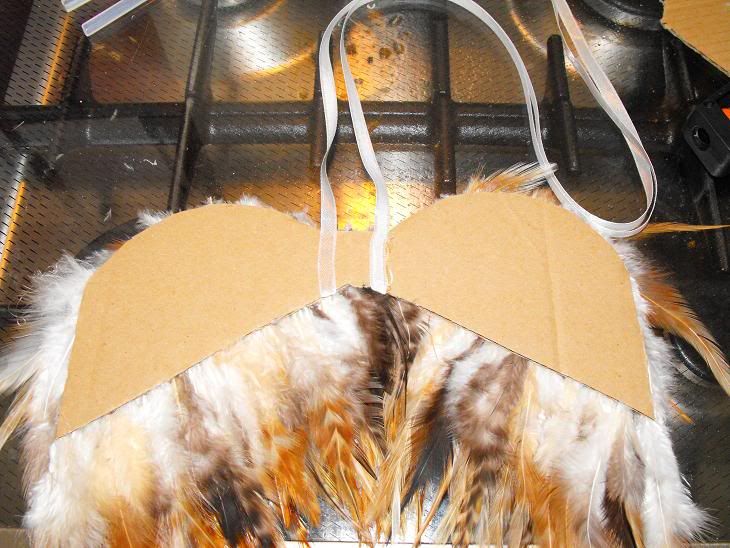
Glue on two ribbons that are excactly the same size on eigther side of the wing's bridge.
Make sure your ribbon is long enough so ou can easily tie the two ribbons together on the back of you doll.
Step four
Go back to step three

Use exactly the same steps of step three to cover the other side of the wing with feathers.
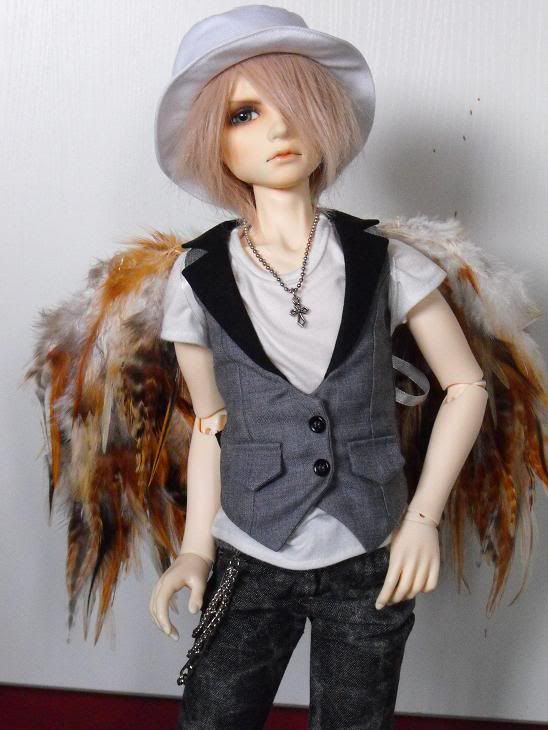
Step five
Strap the wings onto the back of you doll
Wow, that's easier than I'd imagined it would be. I wonder if I could use Popsicle sticks in place of the cardboard...
ReplyDelete