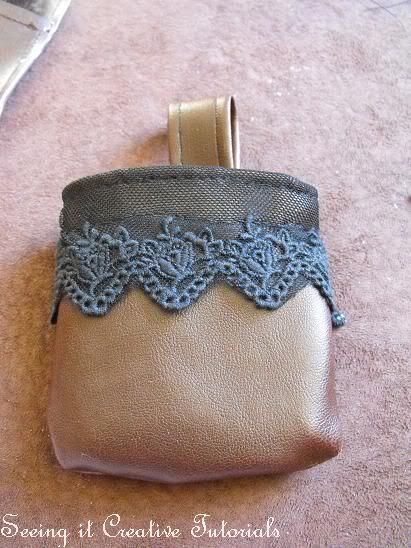
Last week I had a great idea to make a pouch for my Steampunk outfit.
The idea started out as just a simple small little belt pouch to hold something small.
But when I finished that I made a similar pouch to hold a Yo-sd BJD.
So here is the tutorial....:
How to make a Steampunk Belt Pouch for small objects and Yo-SD BJD dolls.
What do you need?
- Fake Leather Fabric ( you can also use real leather if you want. )
- Needle and thread.
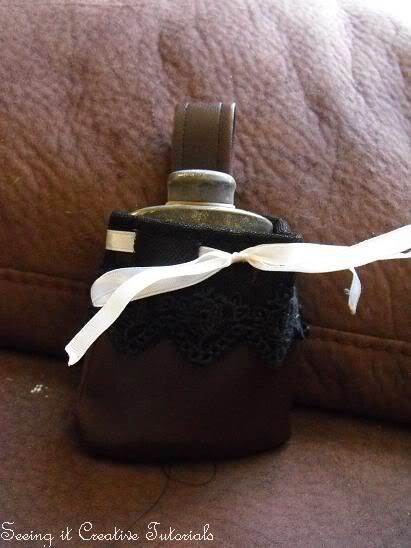
- Decoration fr you pouch if you want to decorate it. For example, Lace, pearls, ribbon Cogs and gears etc.
- Scissors
Step 1
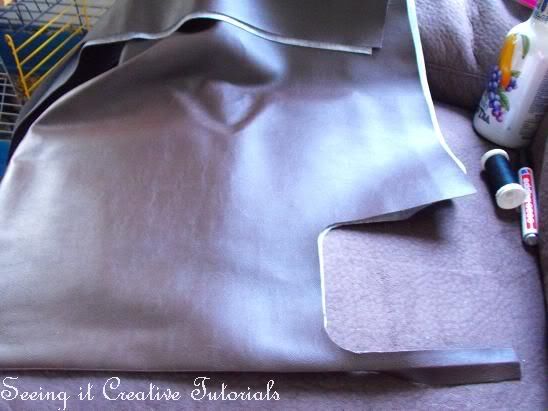
Take measurements.
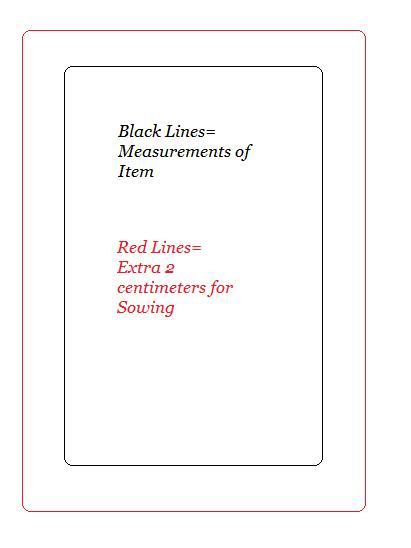
If you want to make a pouch for a specific item be sure to measure up the item and make sure that you mark your measurements down on your fabric. When you have the measurements marked down. add two centimeters all around your measurements. Those extra centimeters are for sowing.
You only need two sides of the same form to make a pouch.
It is easier to mark only one side, and fold the fabric. That way you get two exacly the same shaped pieces.
If you want to make a BJD Pouch. You can place your doll on the fabric and fold the fabric over your doll. That you can use pins to mark down the contour of your doll.

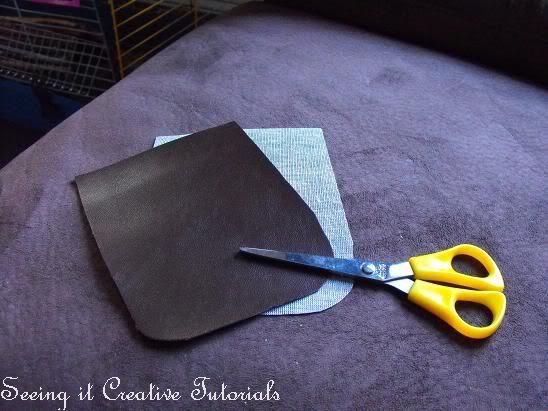
Step 2
Cut out the two sides of you pouch.
Step 3
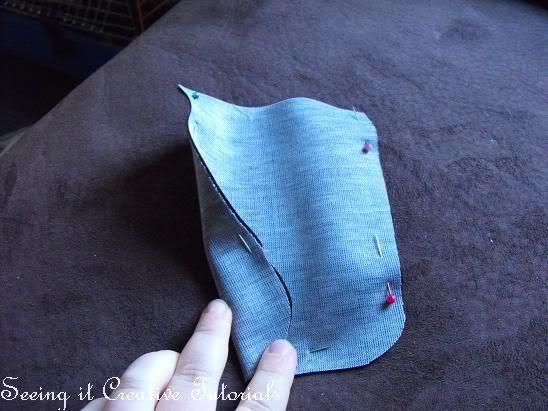
Place the two pieced on top of each other. Be sure to put the outside of you pouch on top of eachother so that the inside of you pouch pieces are showing.
Pin the two pieces together.
Step 4
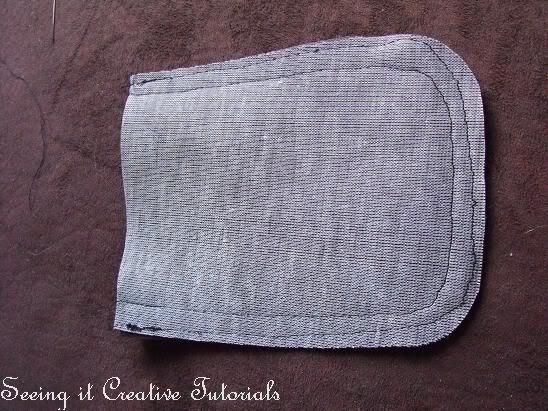
Sowing the 2 pieces together.
I always make two sowing lines. That if for extra safety of the object and for the strongess of the pouch.
Step 5
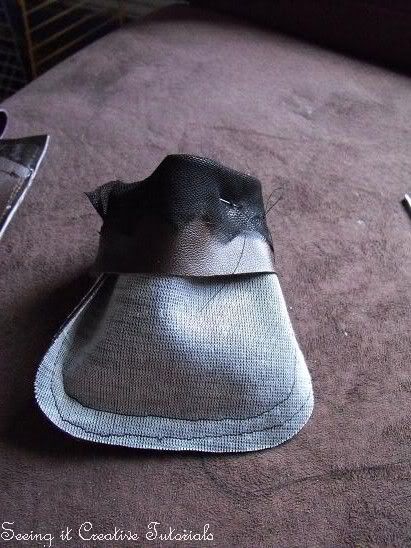
When you are done sowing the two pieces together you flip the top of the pouch, so that a little bit of the outside of the pouch is bend over the inside of the pouch.
If you want to use lace on you pouch, my advice is to fold this in place right now, so you can sow that on together with sowing the bend over fabric.
Pin everything down with pins so it will stay straight when you sow it together.
When you pinned eveything down, you can sow the pieces together.My tip:
Make two sow lines on the flap. One on top and one at the enge of the flap. It gives the pouch somethings extra and it lookes really pretty.
Step 6
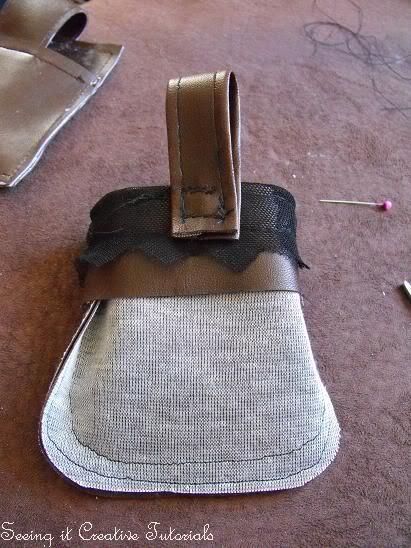
Make a belt loop.
Take a retangular piece of the fabric and fold the side to the middle of the fabric. Hiding the inside of the fabric, and sow the flaps down.
Step 7
Sew the beltloop onto your pouch.
Step 8
Flip the pouch inside out... or outside out. and see how your pouch looks.
Step 9
Make small incisions on the top of the pouch so you can lace a rope of piece of ribbon through.
That ways you have something to pull the pouch shut.
Picture of Pouch with doll will be made soon
Step 10
Decorate you pouch to you own wish with anything you want.
And when you are done with that............
You are DONE! you have your own steampunk belt pouch!!!!